
By Dawn Weber
Board Member-at-Large, St. Louis Wild Ones
Today’s tip is for point-and-shoot camera users:
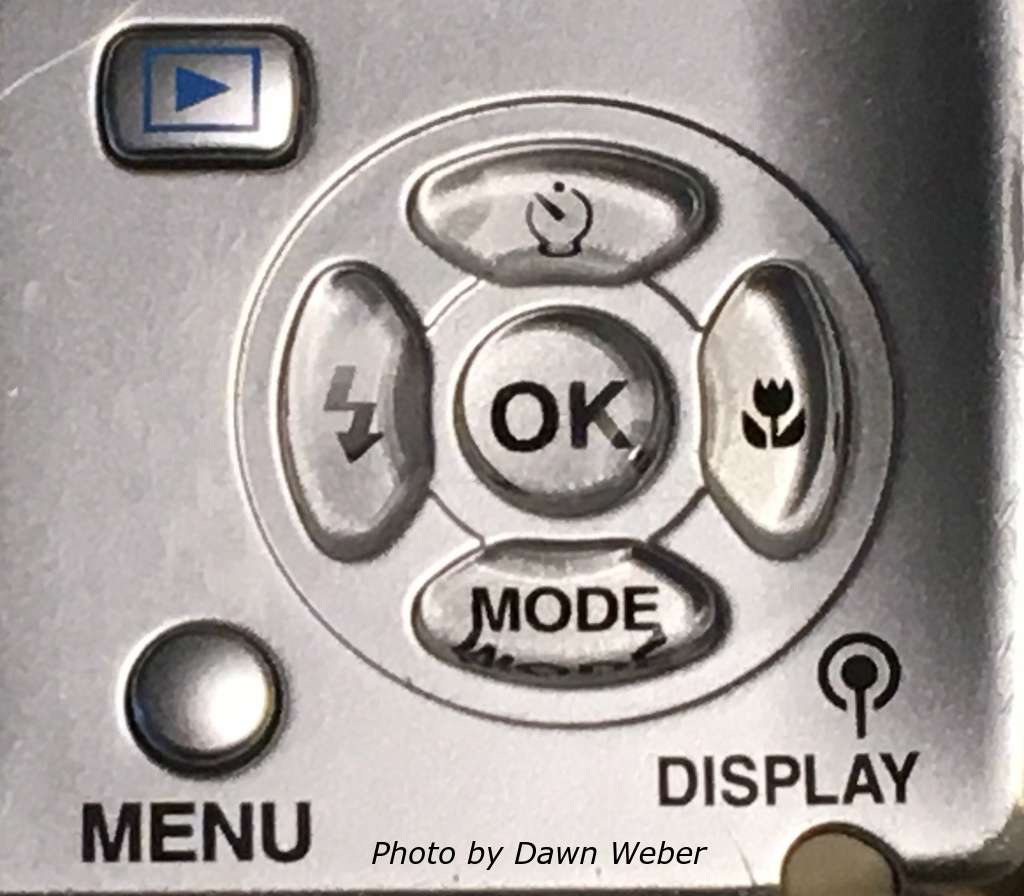
The flower icon on the right is for macro mode.
What is that little flower button?
Point-and-shoot cameras are, by design, great for taking close-up photos in the garden, but did you know there is a way to get even closer? On most of these cameras, there is a button labeled with an icon, that indicates macro mode. Because it’s a flower, this should be easy for our group to remember!
Macro mode on a point-and-shoot camera allows the lens to get even closer to the subject, making a small object appear larger than life in photos.
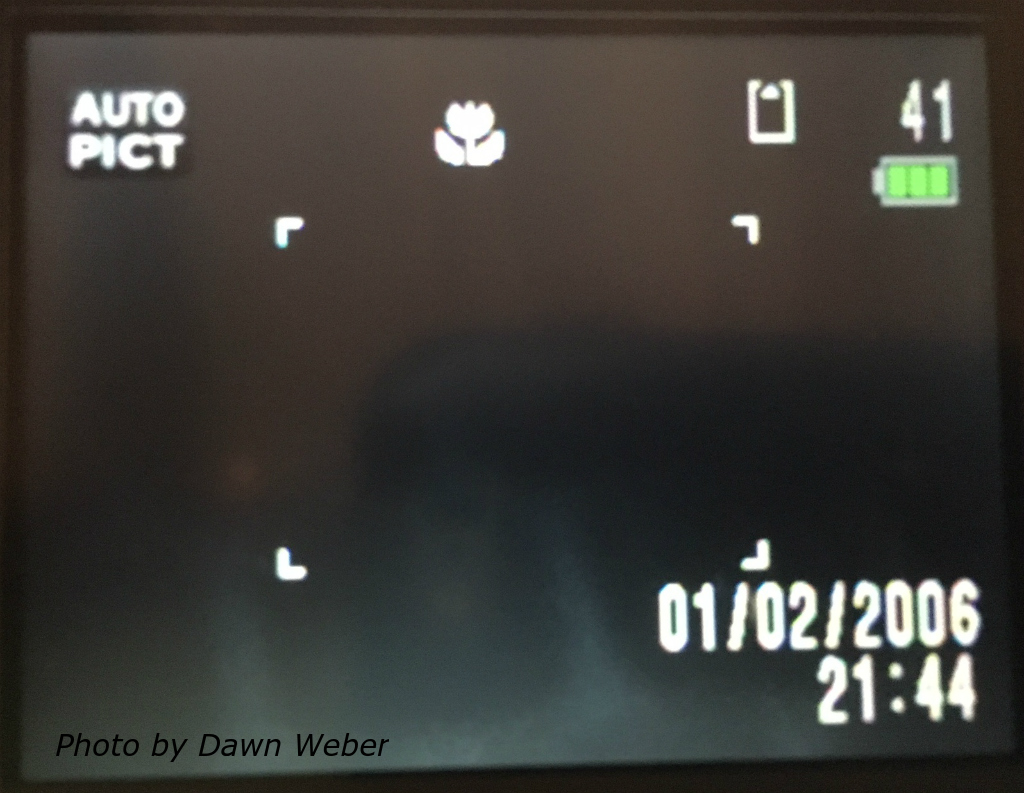
After buying my camera, the first thing I did was check the manual to find the directions on how to turn on macro mode for my make and model. Generally, pushing the flower button, making sure the flower is highlighted, and then saving that choice is all that is required. Once turned on, the same flower will usually appear on the LCD display, providing a reminder that macro mode is enabled.
The flower icon appears on the back of the camera.
Next, I just point and shoot, pressing the shutter button half way to focus, and then pressing all the way to take the photo. It is particularly important to look carefully at the LCD screen while taking the photo to make sure that your subject remains in focus.
Don’t be afraid to experiment. Take as many digital photos as you want. They’re free! I started taking photos at a normal distance, and kept moving closer and closer, until the camera would no longer focus, in order to learn how close I could get. I found that I got the best results from physically moving closer to the object, turning off the flash, and not using the camera’s zoom.
Close-up photography requires a steady hand, but more about that in a future post.
Here is a comparison from my experiment:
To give you an idea of the size of the flowers, gray goldenrod has tiny 1/4-inch yellow flowers.

Gray goldenrod (Solidago nemoralis)
Picture 1 is the closest I could get, in regular focus mode.
Picture 2 is the closest in macro focus mode.
Look at the difference in the detail!
If you have some seed heads remaining in the garden, now is a great time to bring them indoors and practice.
This post is the second in a photography series:
Many of us wander around our gardens and snap quick photos to share with others, to send away for identifications, or maybe to show off a cool insect that we found. Unfortunately, the results can be disappointing, blurry, too dark, or too light. Don’t dismay, help is on the way!
This photography series will give you tips to build your camera skills for taking photos of native plants and all of the visitors that come with them. The aim is to post a few tips for each type of camera: smartphone, point-and-shoot, and DSLRs. Winter is a great time to practice some new techniques so that when those spring wildflowers start to bloom, you will be ready to go!
Next tip: How to reduce motion to increase photo quality
[Editor’s Note: Member Dawn Weber’s photo of wild bergamot (Monarda fistulosa) guttation, titled “Under Pressure” won “People’s Choice” for the Wild Ones 2015 photo contest.]

Nice explanations
I’m pretty much a non-photographer, but the posts are well-written and make me want to try the techniques. Well done!